

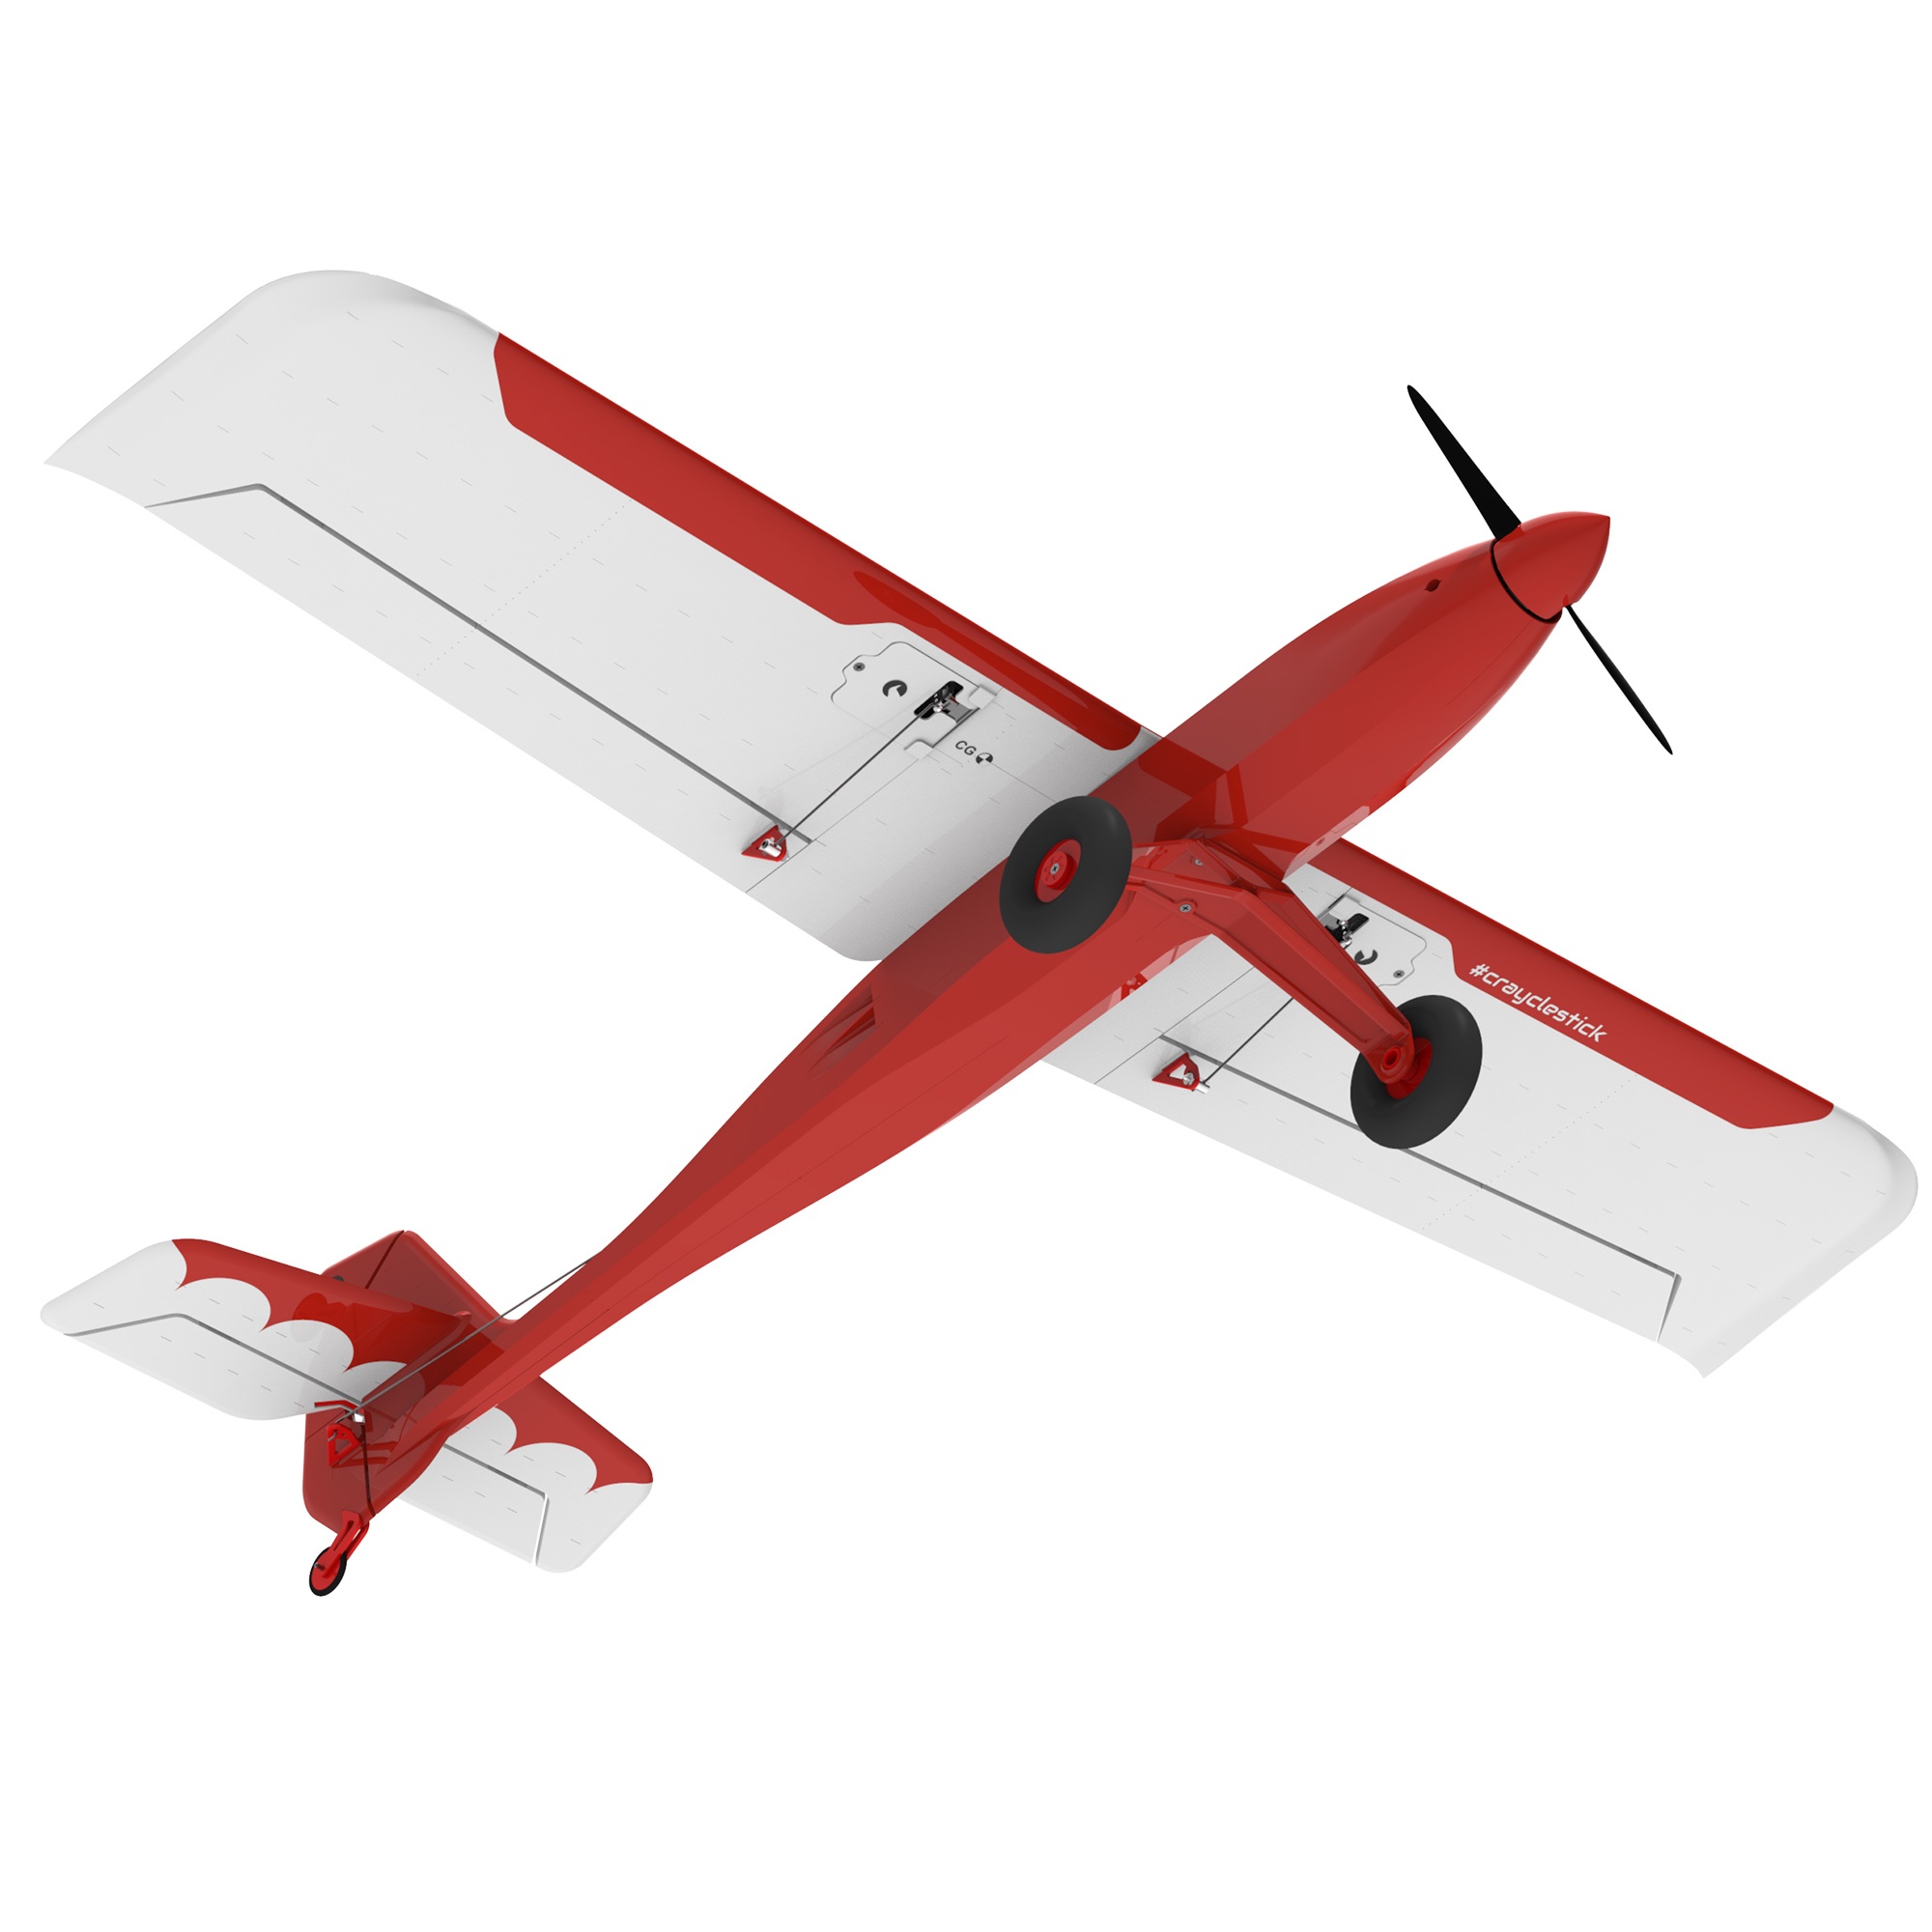


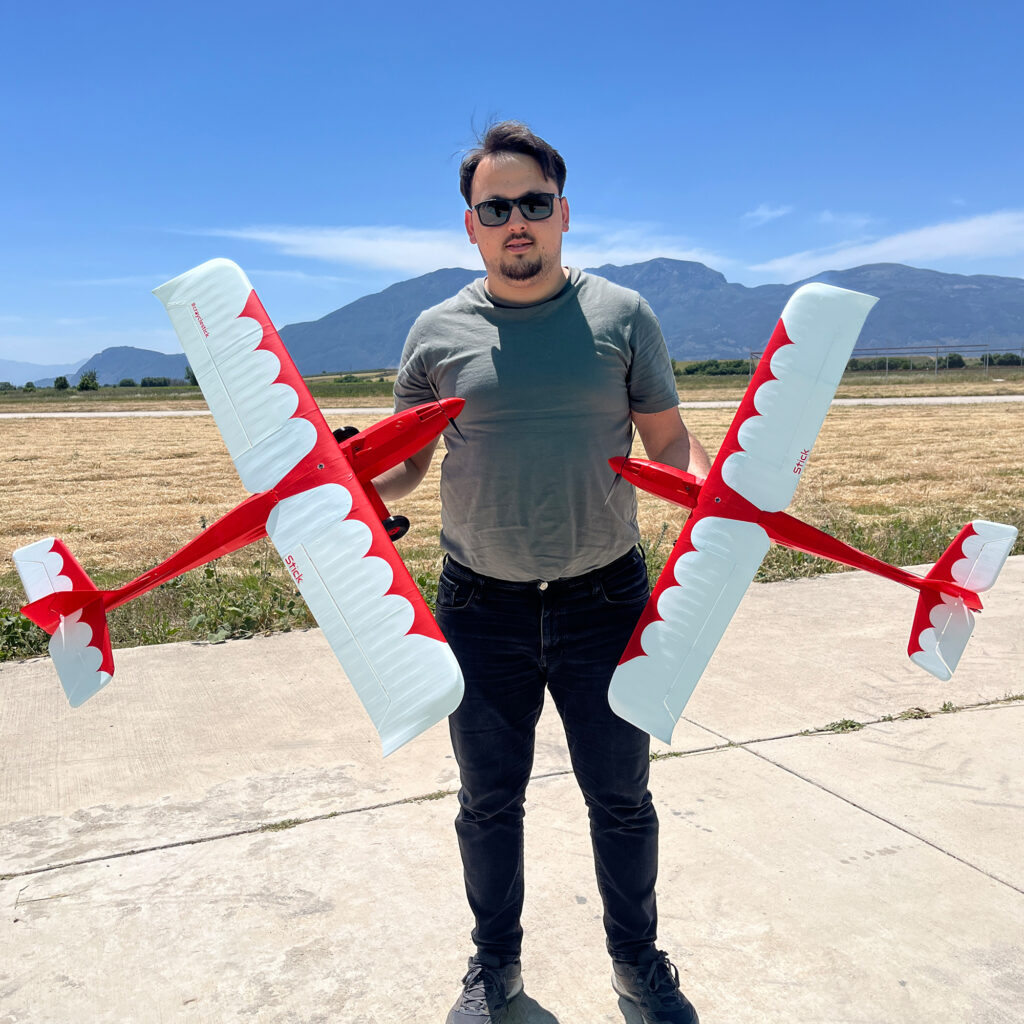
Most Accessible and Reliable 3D Printed Trainer Plane!
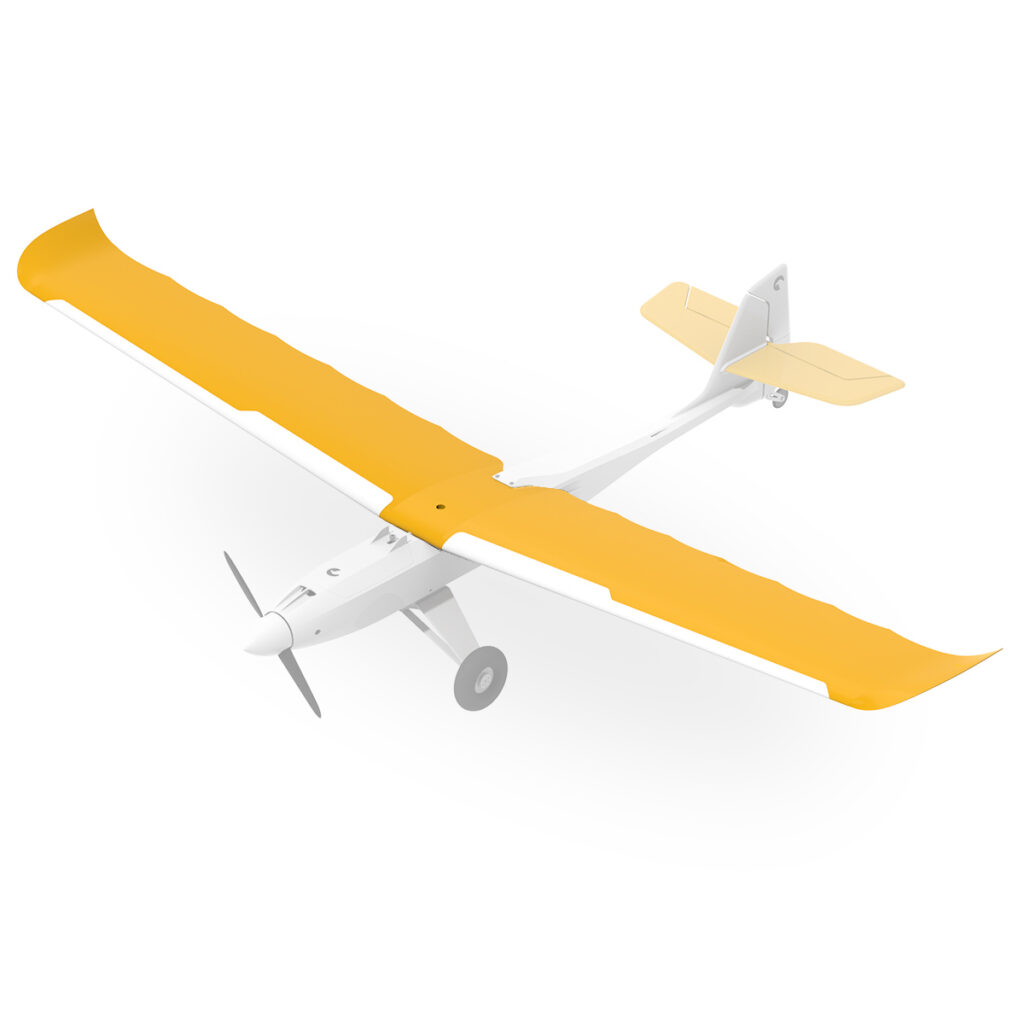
Stick is a versatile RC trainer plane built for durability, flexibility, and fun flying. No carbon rod, no fancy materials! Just Regular PLA and ready to dance in the air.

📦 Included in your download
- STL files - Optimized geometry for strength, lightness, and easy assembly
- 3mf project file - Bambu, Creality, Orca, and Prusa Slicer compatible
- Settings Table - Verified settings for easy setup across slicers
- Decal Files - Ready to cut graphic designs in PDF and SVG formats
- Inav Config - Skip the guesswork and fly with proven configurations (Coming soon...)
- Technical support – Expert help to solve problems and keep you in the air
- Lifetime updates – Our models evolve, so you never get left behind
General Specifications
- Wingspan: 800 mm (31.5 inches)
- Length: 665 mm (26 inches)
- Printed Weight: 272 g (9.6 oz)
- Flying Weight: 460 g (16.2 oz)
- Wing Area: 11.8 dm²
- Wing Loading: 38 g/dm²
- Airfoil: NACA 2412
- Minimum 3D Printer Size: 180 mm3
- Material:
- Regular PLA: Body, Wings
- PetG: Mounts, Brackets, Shafts
- TPU: Hinges, Wheels
Recommended Electronics
- Radio: 4ch+
- Motor: 2205 2300KV brushless motor
- Propeller: 6045, 2 Blade (Optionally foldable)
- ESC: 30A
- Battery:
- 3S1P, 2800 mAh, 18650 Li-Ion
- 3S, 1300 mAh, LiPo
- Servos:
- 4 x 9 gram
- Adhesive: CA Glue
Buy a Stick Power Pack for electronics.
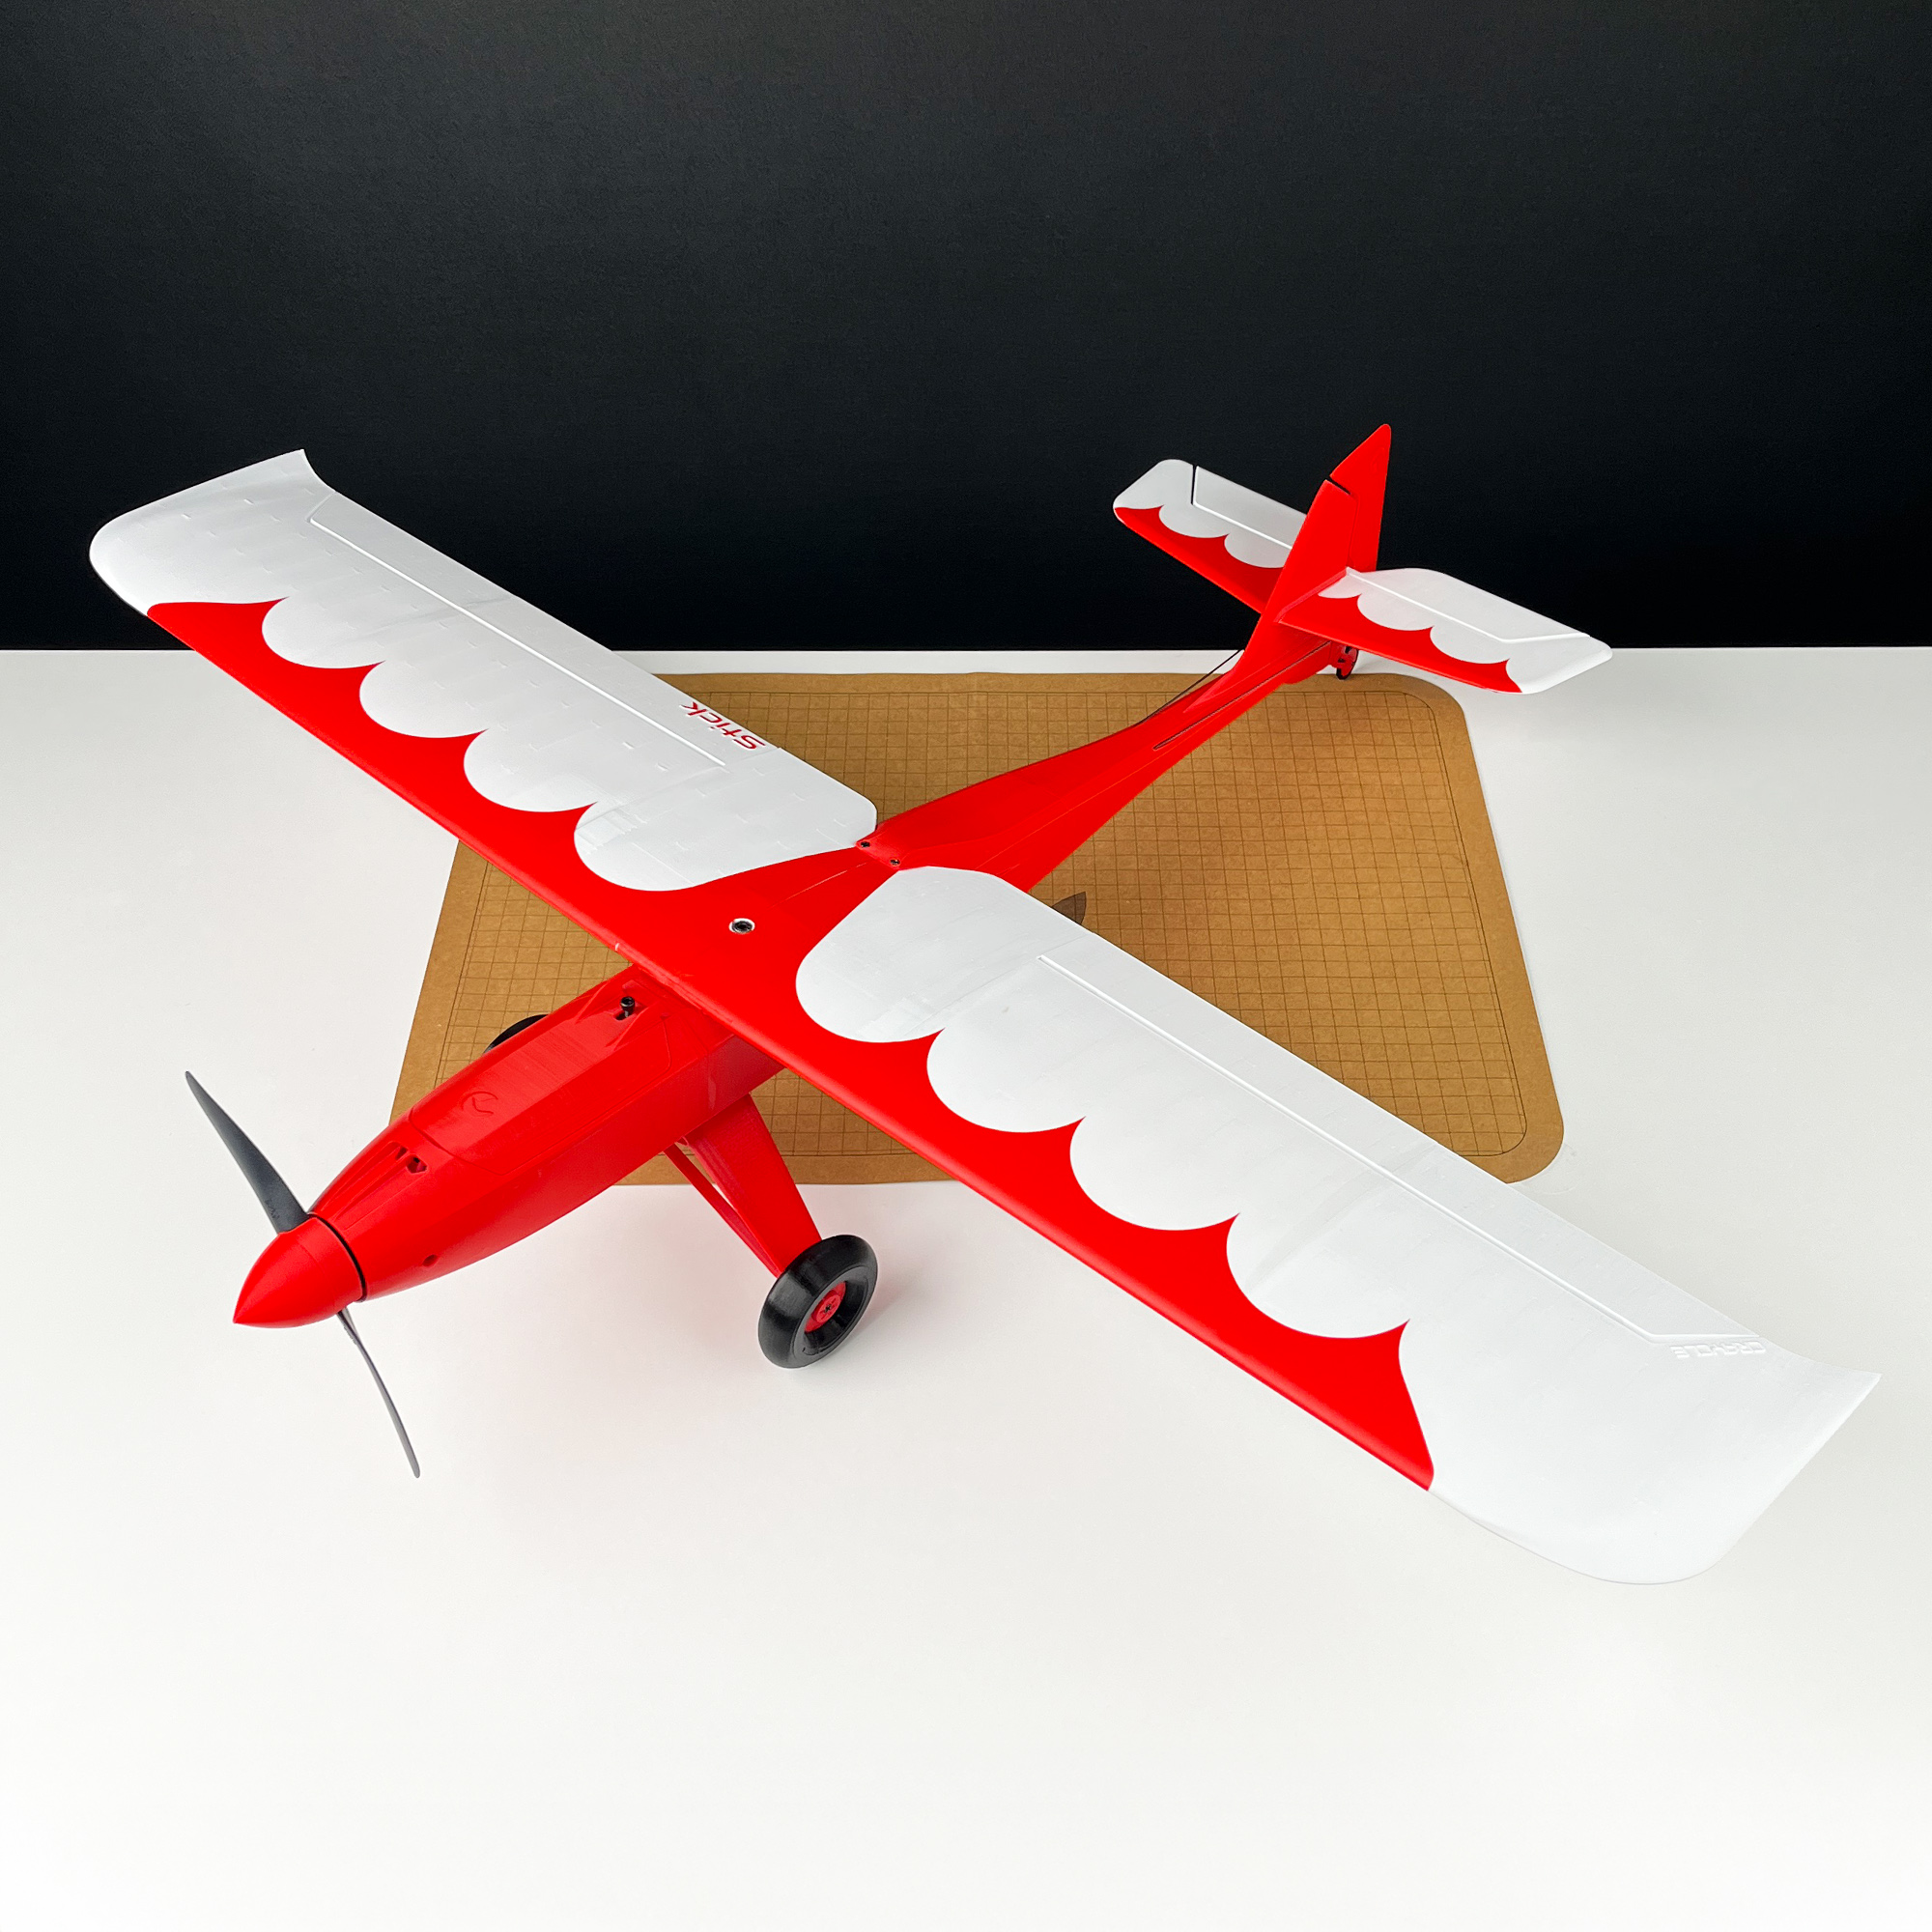
✈️ Easy to Print and Fly
Stick is designed for Regular PLA printing with no supports. The parts come together cleanly, and the flight characteristics are forgiving enough for new pilots but responsive enough for seasoned flyers seeking sport performance.
 🌍 Multi-Material
 🌍 Multi-Material
Although optimized for PLA, Stick can also be printed in LW-PLA, PETG, or ASA. Choose PLA for quick prints, LW-PLA for lighter builds, or PETG/ASA for extra durability.

⚡ Sport Performance
Using the Ranger V3 wing profile, Stick combines stability with agility. It’s not an extreme racer, but it gives confident handling and predictable control. Great for both training and enjoying sport flying.
🔄 Lifetime Free Updates
Stick joins the Craycle family with lifetime free updates. As new improvements or add-ons appear, you’ll always get them without extra cost.
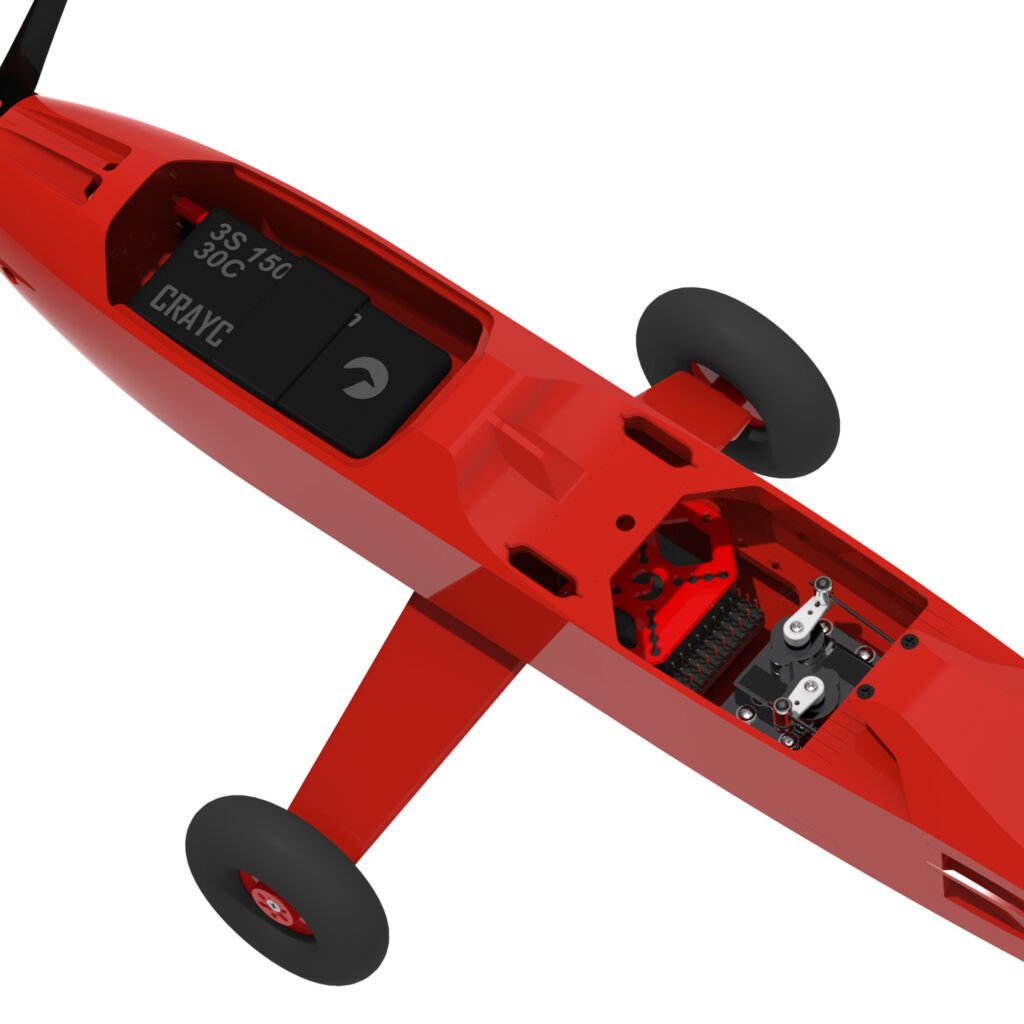
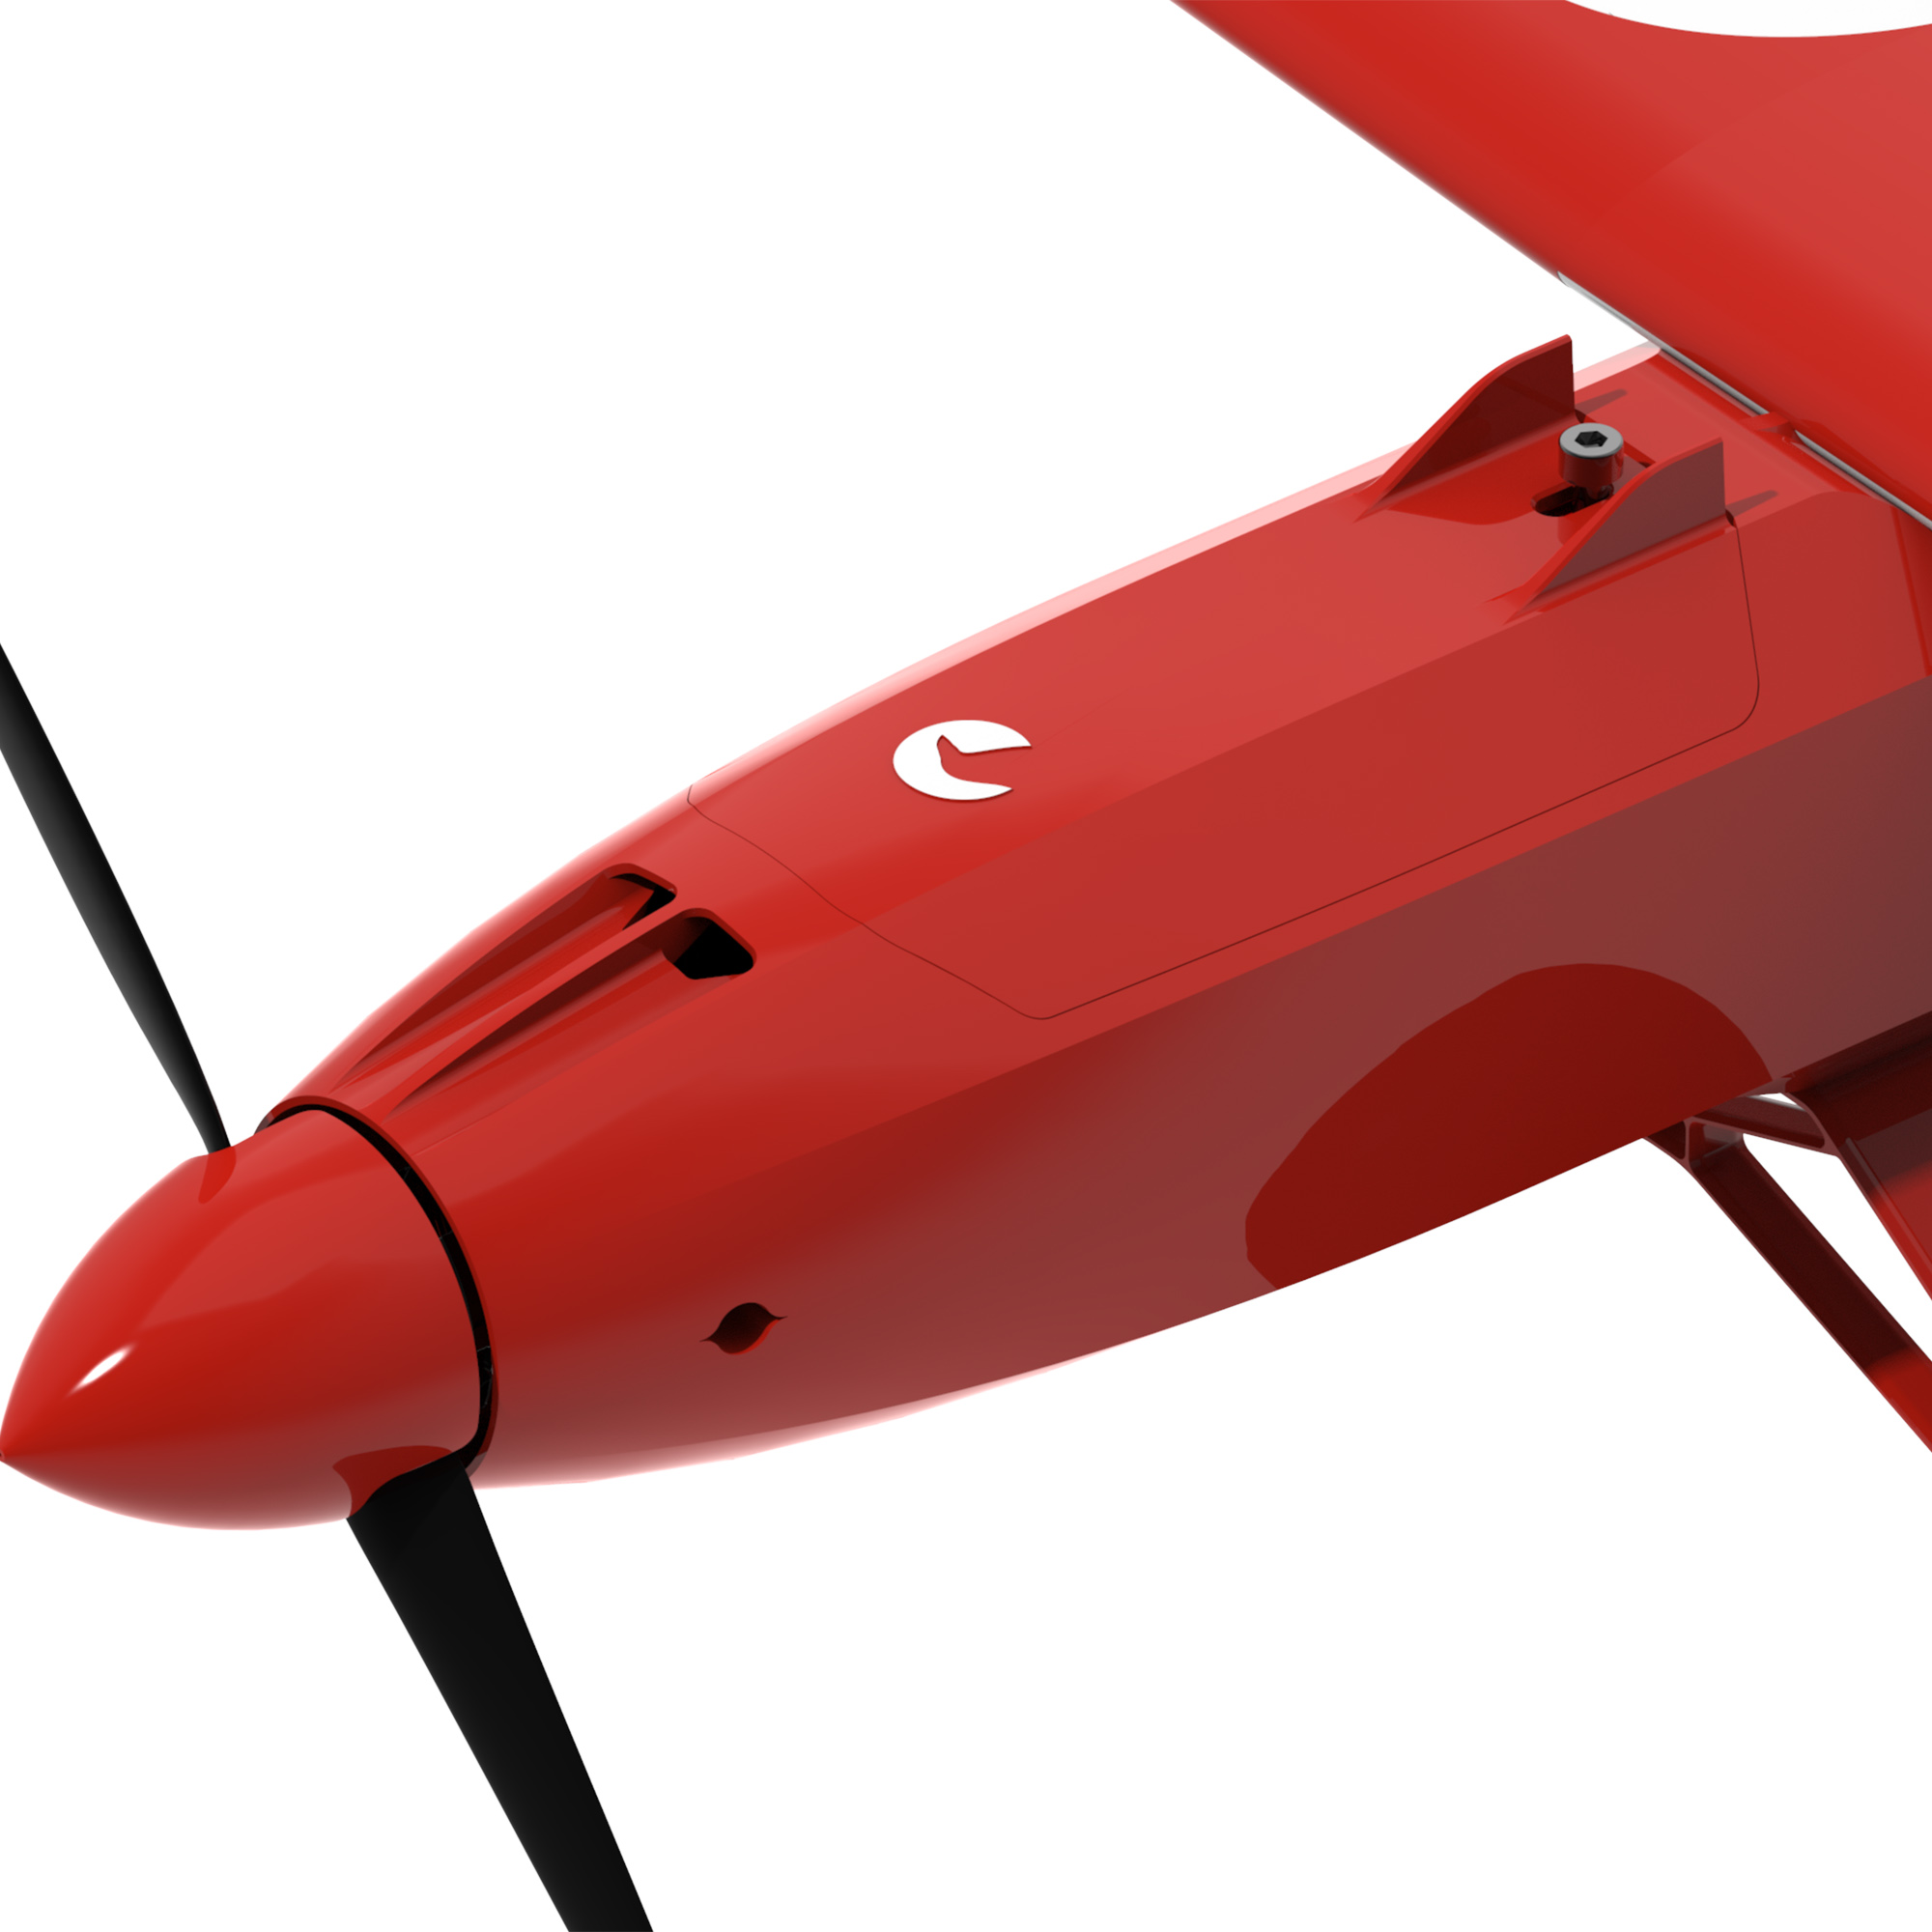
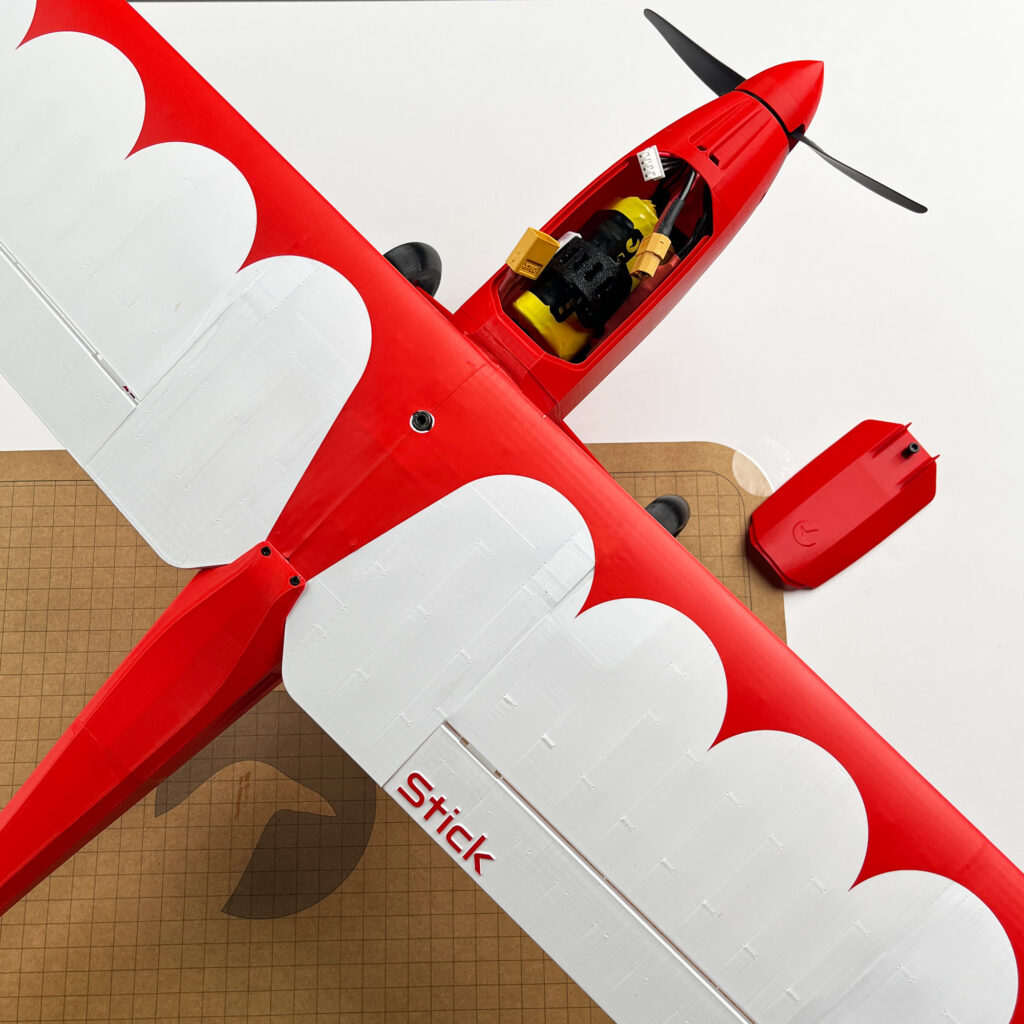
🛠️ Clean Modular Design
Stick features a modular electronics setup that allows neat wiring and easy upgrades. You can swap components without tearing the build apart.

👀 Close to FPV
Stick does not include a dedicated FPV hatch, but it comes with FC and GPS mounts already integrated. With a simple hatch modification, you can easily turn Stick into a basic FPV trainer. This flexibility makes it a great starting point for pilots who want to experience FPV without moving away from the simplicity of a trainer design.
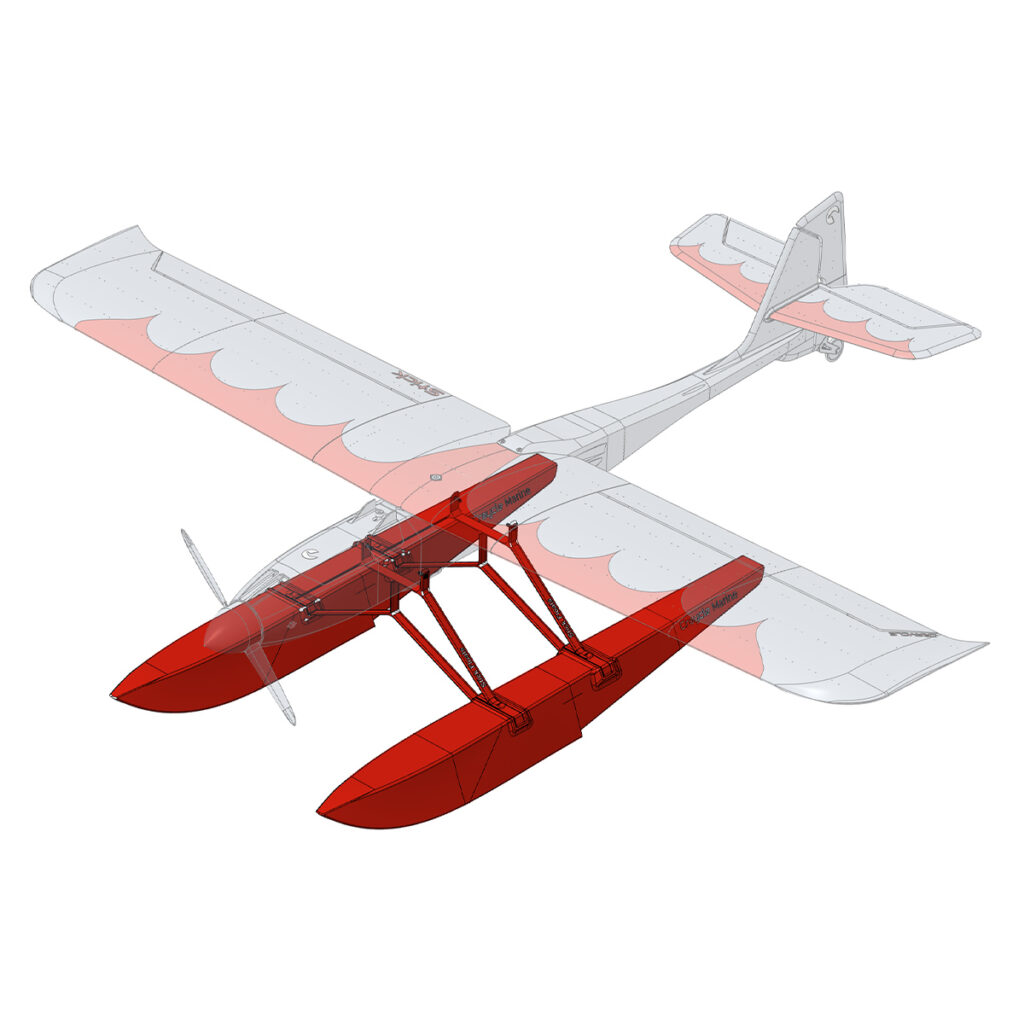
🚤 Float Option Available
Stick can be equipped with optional 3D printed floats, allowing smooth takeoffs and landings on water. The floats are designed to replace the landing gear without affecting the balance, so the CG stays correct and flight stability is preserved. With lightweight construction and easy mounting, the float kit turns your Stick into a versatile amphibious trainer that can handle lakes and ponds with ease. Buy floats!
🕹️ 3-Channel Wing Option Available
Stick now offers an optional 3-Channel Wing Add-On for an easier, more relaxing flight. This version removes the ailerons and uses classic throttle, elevator, and rudder control, ideal for beginners or anyone who enjoys smooth, stable flying.
With its 14° dihedral wing, the plane naturally self-levels and handles gentle turns with ease. Perfect for training or calm weekend flights.
Get the 3-Channel Wing Add-On ➜
Why Choose Stick
If you want a no-fuss plane that’s forgiving yet fun, Stick hits the balance. Low loading, stable flight, and fully printable landing gear make it ideal for pilots wanting reliable everyday performance.
Download the Stick STL files now and see why Craycle built it for pure flying joy.


theodoresaxby –
If I was to buy the stick power pack what parts electronic and non electronic would I need to complete the build?
Thank you so much for the support, I really appreciate it!
Cemal OZCELIK (store manager) –
Hello,
You need to have this list:
X Model Airframe Kit
X Model PowerPack
Radio and Receiver
Battery (3s 850-1500mah lipo will fit to existing models) and Lipo Charger
CA Glue for assembling the Airframe kit.
You can find all these products here: https://craycle.com/printed-kits/
2emiruregen –
bambulab yazıcım var aldıktan sonra gelen dosyaları bambu studioda açıp direk olarak hiçbir ayar değiştirmeden basabilecekmiyim?
Cemal OZCELIK (store manager) –
Merhaba evet model ile birlikte gelen proje dosyasını direkt Bambu Studio da açıp baskı alabilirsiniz ancak proje programınızda kayıtlı olan sizin yazıcınız tanımlı şekilde gelmez. Kendi yazıcınıza geçiş yapmalısınız, bunu yaptığınızda ise şu ayarları standart profile uygulamanız gerekir:
Slice Gap Closing Radius: 0 or disabled
Overhang Detection: Disabled
Slicing Mode: Even/Odd
Wall Generator: Classic
Line Width (Everywhere): 0.40 mm
Bu ayarları uyguladıktan sonra bu profili Craycle olarak kaydederseniz tekrar yapmanıza gerek kalmaz. Yeni modellerle birlikte bu ayarların da büyük bir kısmını model parçalarına uyguluyoruz ancak yine de bunlara dikkat ederseniz baskı ağırlıkları konusunda sorun yaşamazsınız.
Baskı ve filament ile alakalı deneyimlerimizi aktardığımız yazımıza göz atarsanız bu konuda önemli bilgiler edinmiş olacaksınız: https://craycle.com/begginer-guide-printing-checklist/
Takıldığınız noktalarda bize support@craycle.com email adresinden ulaşabilirsiniz.
theodoresaxby –
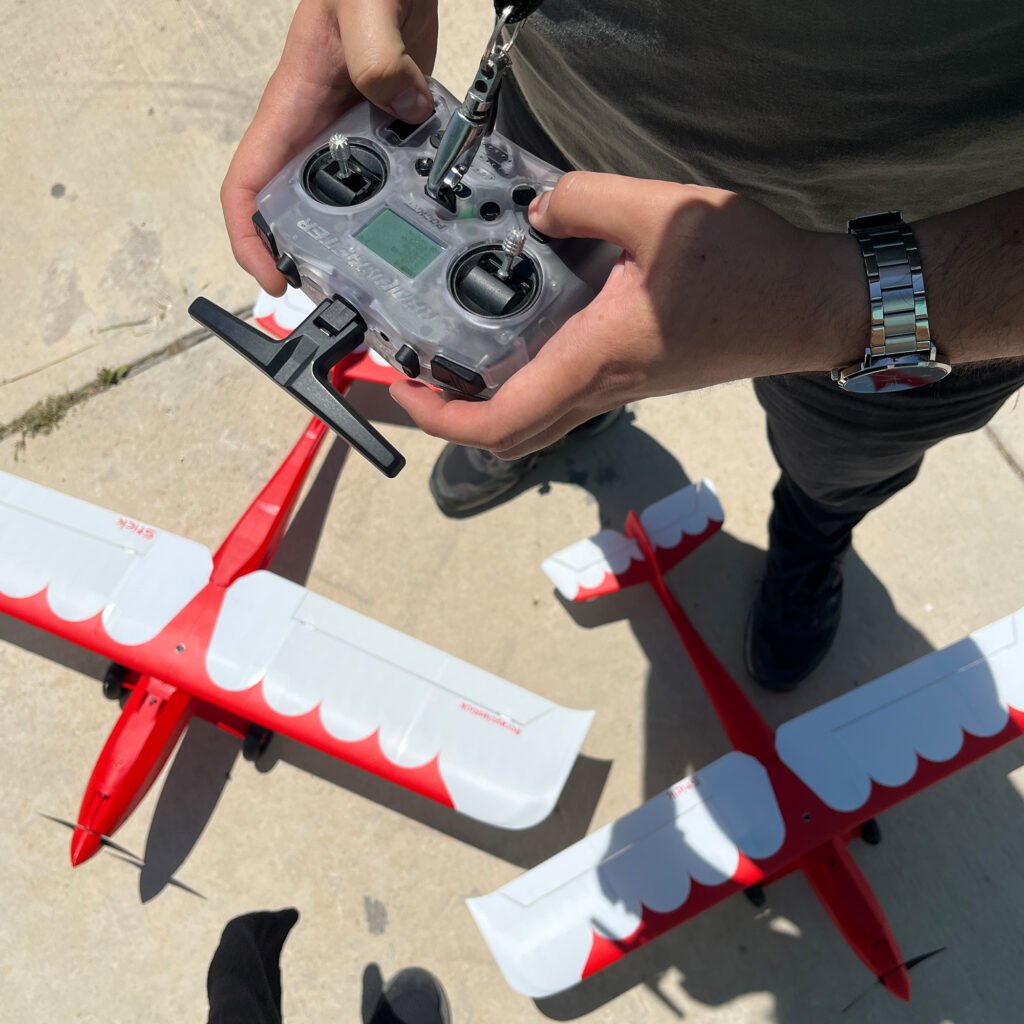
Do you have a specific controller and receiver you would recommend?
Cemal OZCELIK (store manager) –
We are using Radiomaster Pocket on our flights but almost any brand and model Radio and Reciver would work fine. You should find your best shape, featured and priced controller on the market.
sahnyuk.s.s (verified owner) –
I’m printing the model now, and it’s clear that a huge amount of work went into optimizing it. Even on my old printer, the parts come out perfectly.
Personally, I ran into an issue where some parts are too tall for my printer (my Z ~140 mm), but that’s just my own limitation — I’ll ask someone else to print those for me.
Once I finish this model, I’ll most likely buy the next one.
Thanks to the team for such high-quality work — I’m really satisfied!
Cemal OZCELIK (store manager) –
Hi,
Thank you so much for your kind words. It’s great to hear that you’re enjoying the build and that everything is printing nicely, even on your older printer.
Regarding the Z height limit, you can actually print those taller parts in two sections and glue them together afterward. Using CA glue works very well for edge-to-edge bonding, just be sure to spread it evenly and align the parts carefully. For the wing pieces, if you split them around the area where the internal columns are located, you’ll get a much stronger bonding surface.
We truly appreciate your support and feedback, and we’re glad to hear you’re satisfied with the quality. We’ll be looking forward to seeing your finished build.
theodoresaxby –
Ok thank you, I will buy it on Christmas and see how it goes.
Cemal OZCELIK (store manager) –
I am glad to heart that!
theodoresaxby –
Hi by the code i mean if there is any necessary code (python) to fly the plane.
Cemal OZCELIK (store manager) –
Hello,
We don’t need coding to configure a model plane.
If you are flying manually, you will use a receiver on the model and make settings on the transmitter.
If you are flying with a flight controller, you will use software like Inav (Usually for fixed wings), Betaflight, or Ardupilot. You can configure almost anything with these softwares, including the FPV system and OSD.
But if you are going to make your own Radio System or Flight controller, this is an advanced level of electronics job, and is not a topic that we are experts on.
Please let us know your progress and share it on our Facebook Group.
Happy Flying.
theodoresaxby –
Hi,
I am thinking about buying this plane and i had a few questions. Does it come with some code for the plane. What controller should i get. Do i need PLA aero for it.
Cemal OZCELIK (store manager) –
Hello,
If by “code” you mean G-code, we no longer provide G-code files. Instead, we use the much more flexible and accurate 3MF project system. These 3MF files work seamlessly with Bambu Studio, Orca, PrusaSlicer, Creality Print, and many more.
There is no need for LW-PLA or PLA Aero materials. All of our models are fully designed to be printed with regular PLA.
For the radio controller, we recommend starting with any standard 6-channel transmitter and receiver set that you are comfortable with. Many pilots use brands like Radiomaster or FlySky as good entry-level options.
cihanenesdurgun1410 (verified owner) –
Yapım süreci gerçekten keyifli, baskı süreci bir o kadar kolaydı. Gerçekten üstüne düşünülmüş, uğraşılmış bir tasarım olduğu kesin. Ayrıca PETG ile etiketlenen parçaları Craycle’ın önerisiyle duvar kalınlığını ve dolgu yoğunluğunu yükselterek PLA ile bastım. Şimdilik hiçbir sorun yok gibi gözüküyor. Herkese iyi uçuşlar dilerim.
The build’s been a real pleasure — and the printing process went just as smoothly. It’s clear this design was carefully thought out and crafted. I actually printed the PETG-labelled parts in PLA, based on Craycle’s advice, bumping up the wall thickness and infill. So far, everything’s looking spot on. Wishing everyone smooth flights!
Cemal OZCELIK (store manager) –
Çok teşekkürler! Bu kadar keyifli bir yapım süreci yaşamanıza ve önerilerimizin işe yaramasına çok sevindik.
İyi uçuşlar! ✈️😊
orhanmerterduran (verified owner) –
I really love Craycle models, it is really easy to print and assemble. I haven’t printed it yet but I will do it soon. I wish the best for you, glad to have a good company like you in Turkey.
Cemal OZCELIK (store manager) –
Thank you so much for your kind words! We’re really happy to hear that, and we’re excited for you to try the model soon.
Your support means a lot to us!
Tom Shaw (verified owner) –
EDIT…..
the pockets fit fine with some pushing, the servo was getting stuck on the 2 small supports at the top of the wing.
All went together just fine..
Cemal OZCELIK (store manager) –
Thanks for the update! Glad to hear everything came together nicely in the end 😊 It is a small detail but I will fix it very soon.
Appreciate you taking the time to share it!
Tom Shaw (verified owner) –
Simple but effective sport design, prints well and goes together easily. Only complaint is the wing servo pockets are too tight for most 9g servos, the lead catches and makes it hard to get the servo in, some minor surgery to remove some plastic to fit in a easier.
Haven’t flown it yet, but I’d imagine it’ll fly fine.
Cemal OZCELIK (store manager) –
Thank you so much for your honest feedback! I am glad you liked the model.
In the Stick model, due to the added dihedral angle on wings, the wing servo support walls slightly interfere with standard 9g servos.
Ah, I can’t believe I forgot to fix that small detail before release! I had noticed it during testing, but since the servos still fit with a bit of effort, it slipped my mind.
Thanks again for pointing it out. We’ll be updating the wing files in the next few days to make servo installation easier for everyone.
Much appreciated!