

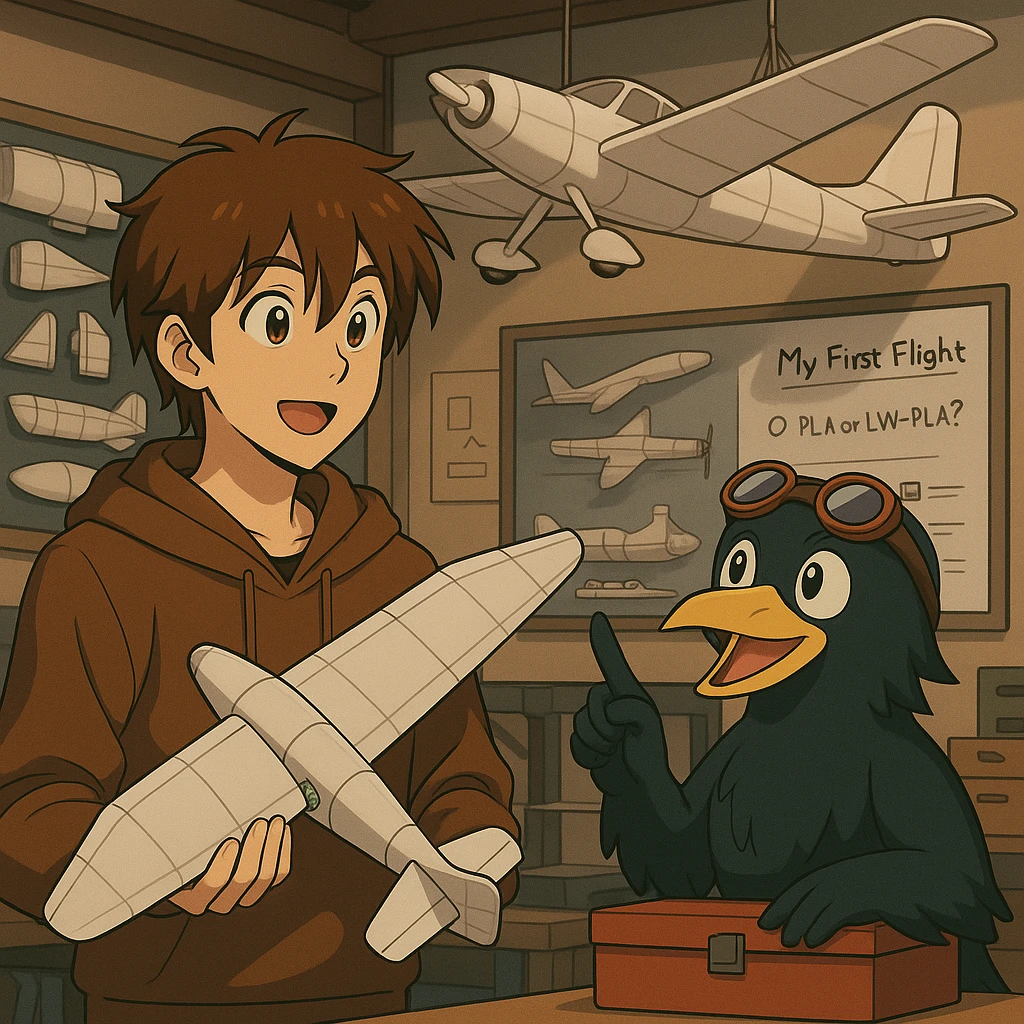
If you’re new to the world of Craycle, congratulations! You’re about to build and fly your own 3D printed RC airplane. Whether you’ve purchased STL files or a Printed Kit, this guide will walk you through every step. Let’s dive in.
✨ What is Craycle?
Craycle designs 3D-printable RC and FPV aircraft. You can get started in two main ways:
- STL Files – Download and print using your own 3D printer
- Airframe Kits – Pre-printed parts delivered to your door
Our mission is to bring flight, design, and creativity together in one experience — for makers, pilots, and aviation dreamers worldwide.
🛠️ Choosing Your First Aircraft
Choosing the right model makes a big difference. For beginners, we recommend our trainer models:
- #CraycleStick – Easy to print and fly, no carbon rod, forgiving for new pilots
- #CraycleRanger – Stable, larger frame, no carbon rod, great for learning and FPV upgrades
- #CraycleCub – Super Scale Pa-18 Piper Cub for cockpit-style FPV experience
Know the formats:
- STL: 3D model files for printing
- Airframe Kit: Pre-printed kit, airframe parts, and metal hardware
- Power Pack: Plug & Fly Electronic Packs (Motor, ESC, Servo, Propeller)
📦 After Purchase – First Steps
Your journey starts now! Here’s what to do depending on your product type:
If you bought STL files:
- Download and save your files
- Read the text files included in the folders
- Follow the print instructions carefully in the user guide
If you bought a Kit:
- Track your shipment
- Check the box contents
- Watch the step-by-step build video on @CraycleOfficial
Need help? Reach us at support@craycle.com anytime.
🖨️ 3D Printing Guide
Printing your airplane is both rewarding and fun. Some quick tips:
- Filaments: Use PLA for strength, LW-PLA for lightweight builds
- Printers: Any 180 mm3 or bigger printer (Check user guide for required printer volume)
- Slicer Settings: Available in the User Guide and the Model files.
- Clean your nozzle, use fresh/dry filament, and tune your temperature and retraction settings before starting. You can test your print with the biggest part of the model, like the wing or the fuselage.
Don’t stress about first-time errors — learning is part of the flight ✈️
After printing, follow the steps to assemble the model, similar to the kits below.
🔧 Assembling Airframe Kits
Building a Craycle kit is like working on a puzzle — satisfying and simple.
Key steps:
- Check that all parts are included
- Use gloves and the mat included in the kit
- Assemble the model parts, watching the Build Videos
- Install the electronics
- Connect your radio system and test movements
- Position the battery and check CG
- Install the propeller only while flying for safety!
Always do a final pre-flight check for control surfaces and CG before takeoff.
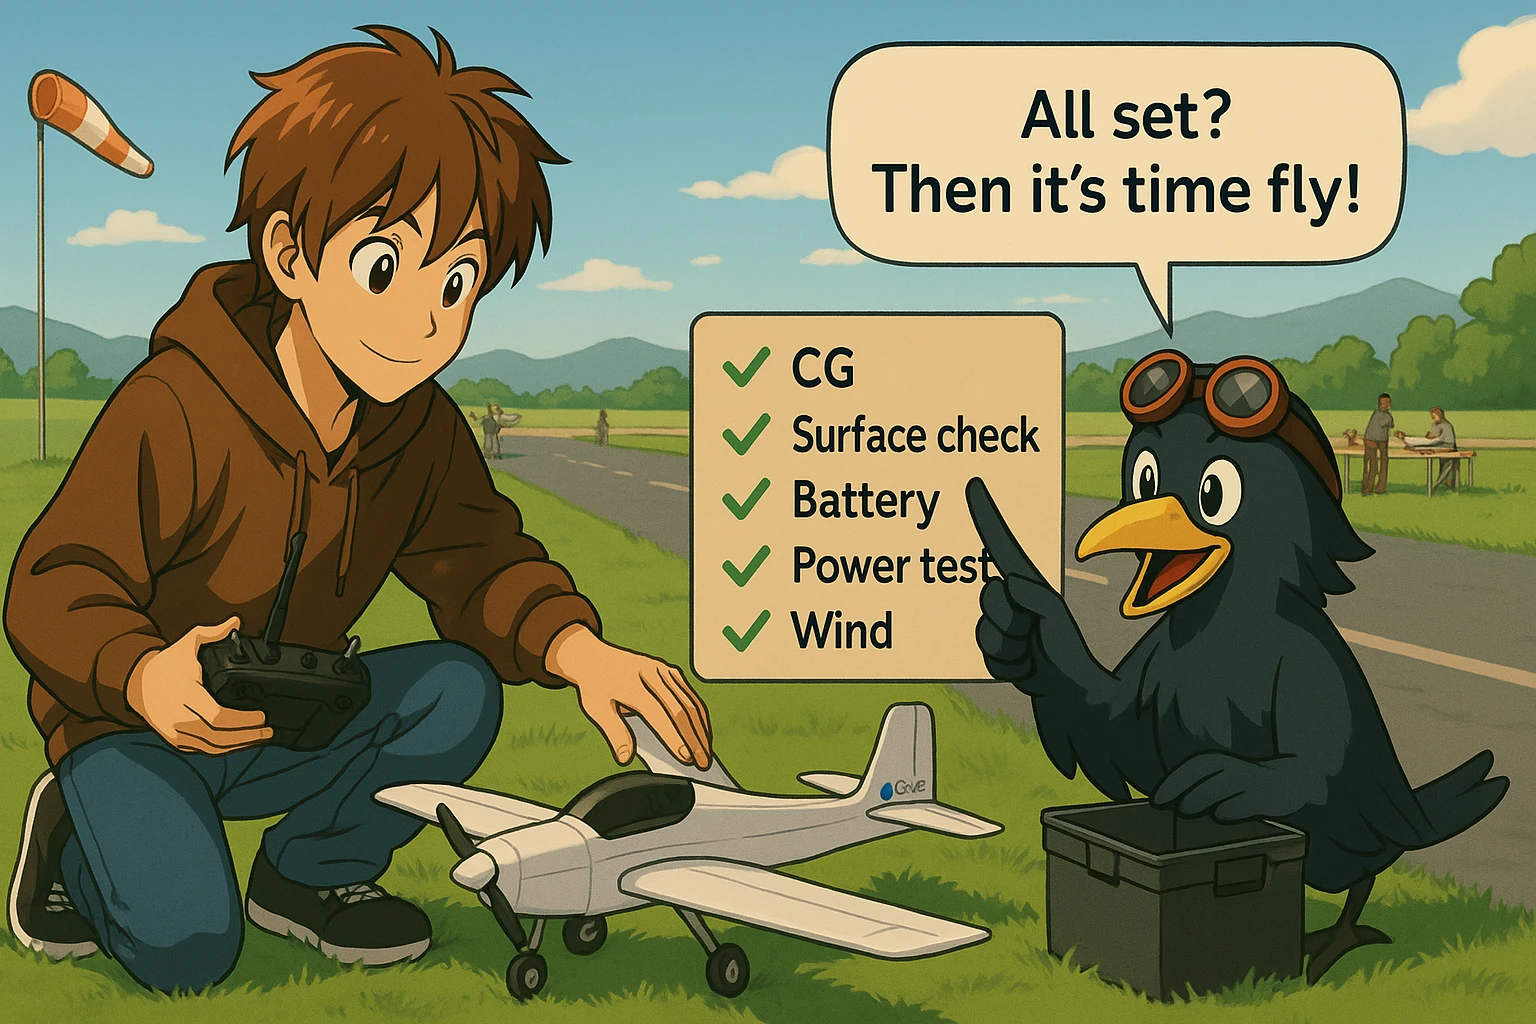
🪂 Preparing for Your First Flight
You’re almost there! Make sure everything is in place:
- CG (center of gravity) is correct
- All surfaces respond properly
- The battery is fully charged
- Your motor power is enough to hold the model vertically
- Conditions are calm (morning is best)
Your first launch is a moment you’ll never forget 🌤️
📡 Radio & Flight Controller Basics
Your flight electronics matter! Check PDF User Guides for the Servo Expo and Rate setting recommendation for each model. For smooth flights, we suggest:
- Radio: RadioMaster Boxer or Pocket
- Receiver: ELRS nano or PWM
- Flight Controller: Speedybee F405 Wing or Wing Mini
- Optional: iNav setup for GPS and full flight features
A good radio is the heart of reliable control — choose wisely.
🎥 Exploring FPV Flight
Want to fly through the cockpit? That’s what FPV is for. You’ll need:
- Camera (Caddx, Runcam, DJI)
- VTX (analog, HDZero, DJI O3)
- Goggles (Skyzone, Fatshark, DJI)
For a cinematic FPV view, try the #CraycleOrca, #CraycleRanger, or #CraycleDiscover. For a cockpit-style FPV experience, try the #CraycleCub and #CraycleCrow — they place the camera in a realistic pilot position, with the motor in view just like a real plane.
🛠️ Maintenance & Repair
Craycle models are designed not only to fly beautifully, but also to withstand crashes and be easily repaired. Don’t worry, even if something breaks, you’re never grounded for long!
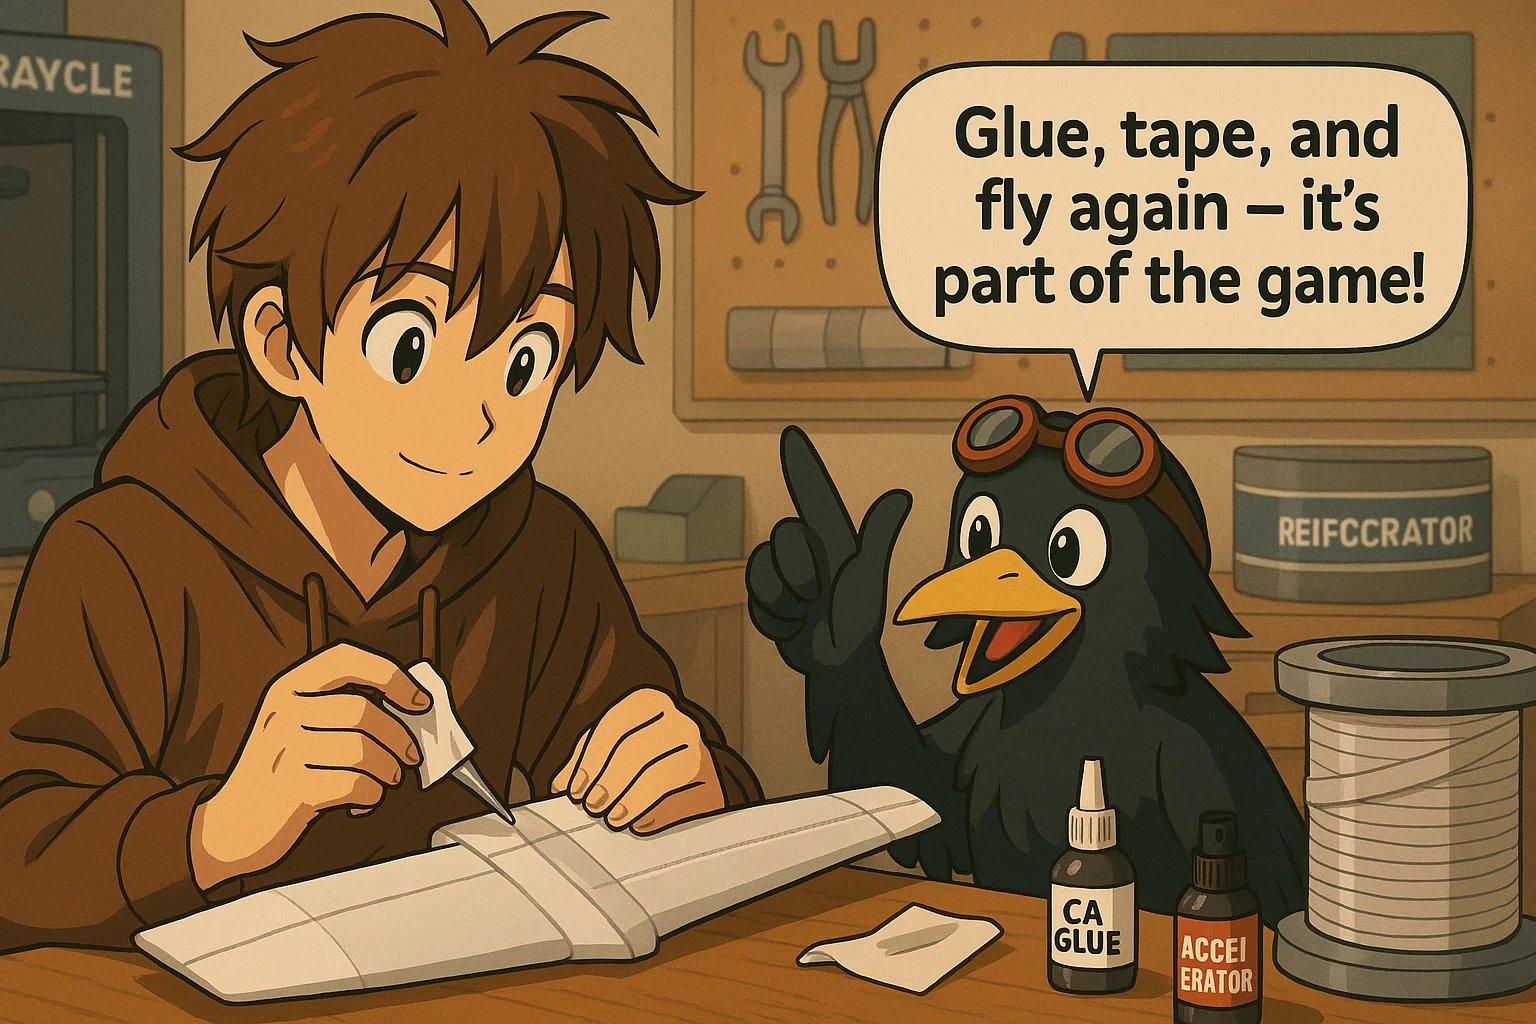
💡 CA glue (cyanoacrylate) works incredibly well for fixing broken parts. Here’s how to do a quick and effective repair:
- You don’t need a workbench, just a stable surface and a steady hand
- Apply CA glue to the broken edges
- Use a napkin or tissue to wipe excess glue and spread it along the surface
- For extra strength, add a CA accelerator to instantly cure the bond
✨ Pro Tip:
Applying a strip of transparent or reinforced tape to the leading edge of the wings and around belly landing areas on the fuselage can make your model nearly unbreakable. It absorbs impacts, prevents cracks, and adds a layer of protection without adding much weight.
With just a little care and some smart reinforcement, your Craycle model will be back in the air in no time — and tougher than ever! ✈️
✈️ Scale Model
One of the most exciting features of Craycle models is that they’re scalable.
- Print your first plane at the default scale
- Then try 125%, 150%, 175% or even bigger
- Scale your nozzle (Usually only in the slicer settings) accordingly
- Adjust your electronics accordingly
Want help with scaling, balance, and slicer tips?
👉 Check our full blog post on scaling Craycle models
More size = more power, more lift, more visibility for manual flights 💥
🧱 Why We Optimize for Regular PLA
At Craycle, we believe that model aviation should be fast, accessible, and reliable, and that’s exactly why we optimize every design for Regular PLA.
While LW-PLA offers great performance for ultra-light builds, Regular PLA brings huge advantages for everyday pilots:
- 🕒 Faster prints — up to 3–4× faster than LW-PLA
- 🧱 Stronger structure — more impact-resistant in crashes
- 🎨 More materials — express your build with engineering materials like ASA, ABS, or CF Nylon
- 🛠️ Easier handling — no special slicer tricks or print speeds needed
- 📦 Efficient prints — multiple parts can print on a single build plate
All Craycle models are engineered to keep wing loading below the flight threshold, even when printed in standard PLA. From 800 mm to 1200 mm wingspans, you can fly confidently, no LW-PLA required.
Want to go lighter? Sure! LW-PLA is still fully supported for performance builds.
But for most users, Regular PLA gives you the best mix of strength, speed, and simplicity.
This is how we make flight accessible.
Print faster. Fly stronger. Crash smarter.

🤝 Join the Community
You’re not alone in this journey. Thousands of Craycle users are flying, building, and sharing every day. Join our Crafter Group
- Make a group post for your builds and questions
- Use #craycle to tag your creations on any social platforms
- Submit your flight videos to be featured
- Leave a product review and get exclusive discounts
We’re more than a brand, we’re a builder’s community.
🧭 Support & FAQ
Need help? We’ve got your back.
- Read our FAQ page
- Read our Guide Articles
- Contact us: support@craycle.com
- Check Return & Refund Policy anytime
Ready to take off?
🎁 Remember your Welcome coupon:
Use code 3PSEWZP6 at checkout to get 10% off your first order.
(Valid on STL files only)
Your first flight might be the start of something big.
Thank you for joining our community!
Best Regards,
– Craycle Team

Hi, I have a question.
I’d like to purchase the Crayclecub, so I downloaded the test .stl files you provided.
As you suggested, I set the slicer according to your settings (I use Qidi Slicer, derived from Orca). I printed the final part of the fuselage and compared the weights, finding differences of about 1-1.4 g compared to the suggested weight (15.4 g).
Do you think this is an acceptable error? Do you think a 10% increase in weight could have a significant impact?
How could I improve?
I made two prints, and the best quality was the one printed in spiral vase mode.
I use a Qidi X-3 Max printer, if that helps.
Thank you, regards.
Hi,
That weight difference is absolutely not a problem. The model can easily handle this amount of variation and it will not have a negative impact on flight performance.
The main reason for the difference is wall line width. In many default profiles it is set to 0.42 mm or 0.44 mm. All our reference weights are based on 0.4 mm wall line width.
If you set wall line width to 0.4 mm everywhere, the weight difference will reduce even more.
A difference of 1–1.4 g at this scale is totally acceptable, so you are good to go.
Best regards.